Debugging your React Native App with Visual Studio Code(VS code)
VS code is arguably the most famous code editor out there and React Native is a JavaScript framework that is used to develop mobile applications for iOS and Android with the two combined effectively you can create efficient, beautiful, and responsive apps but for this article and not to bore you with details, we will be looking at how to debug our React native App using VS code. Debugging is the process of finding and resolving bugs within computer programs, software, or systems. Google can also be used to debug your React native app. Just getting that out there.
Well, first things you will have to start by setting up with Expo to start your React native journey. You can find a quick and step-by-step guideline on how to do exactly just that;
After all is done and you have setup Expo and Vs code and your Android or simulator is functioning properly, it should look something like this;
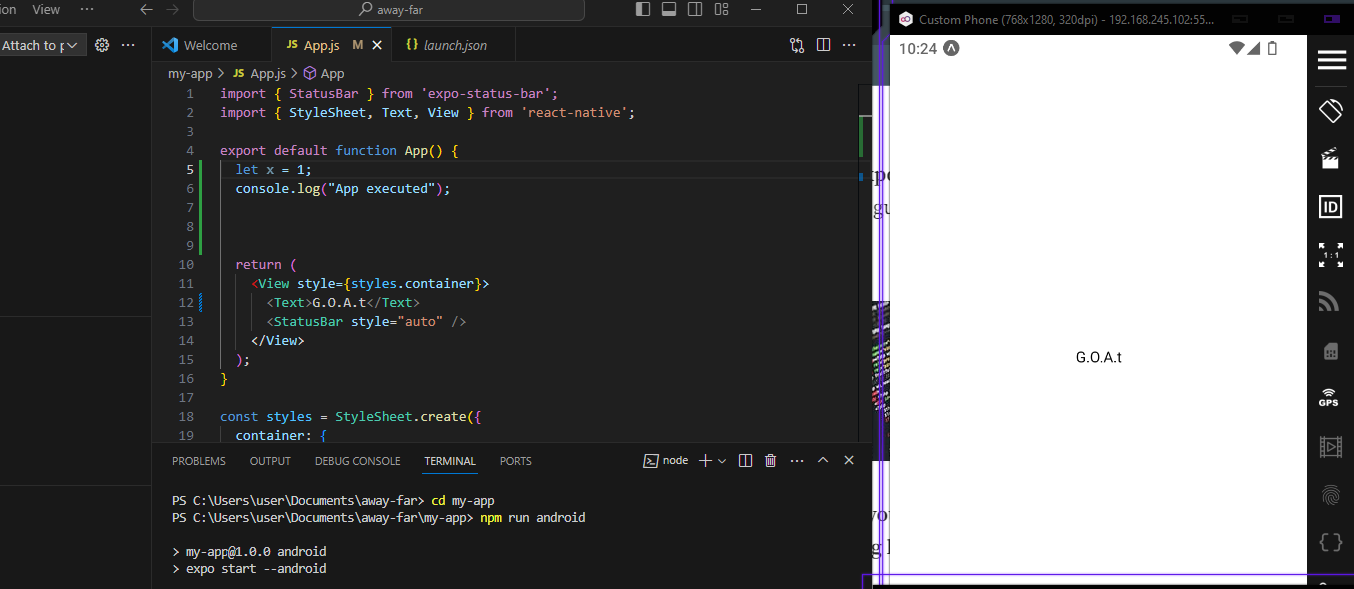
Mental Note, by Default in App.js within the text tag, it will say “Open up App.js to start working on your app!”. Keep that in mind. Back to the subject matter.
At this point where everything is set.
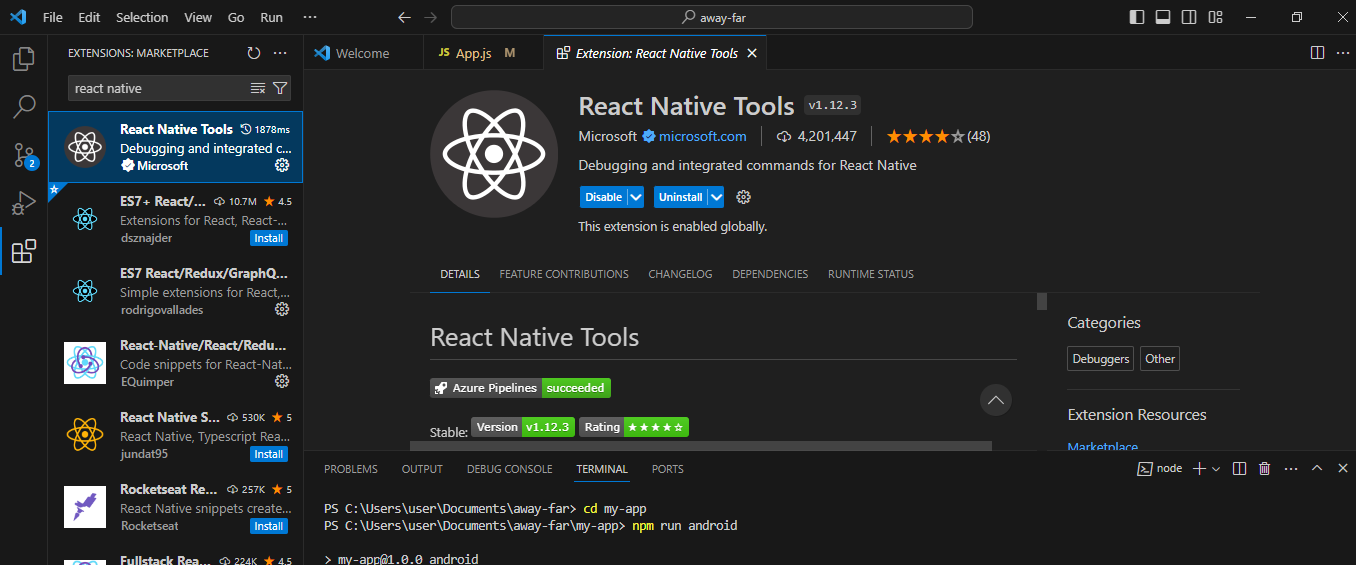
Go to the extension panel, search for react native, and Install the React Native Tools. With this extension, you can debug React Native apps in VS code
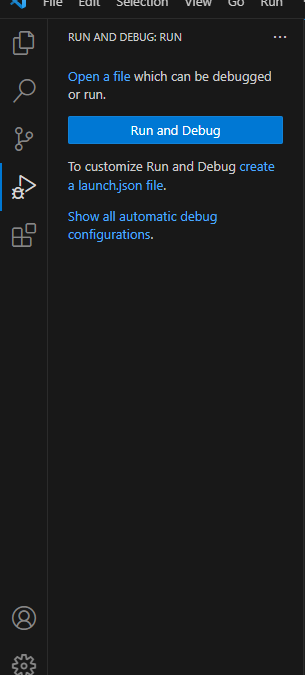
2. Go to the Debug panel, just above the extension panel, the one that looks like a play/pause button. This is where you store our debug configurations. You will see the text “To Customize Run and Debug create a launch.json file”
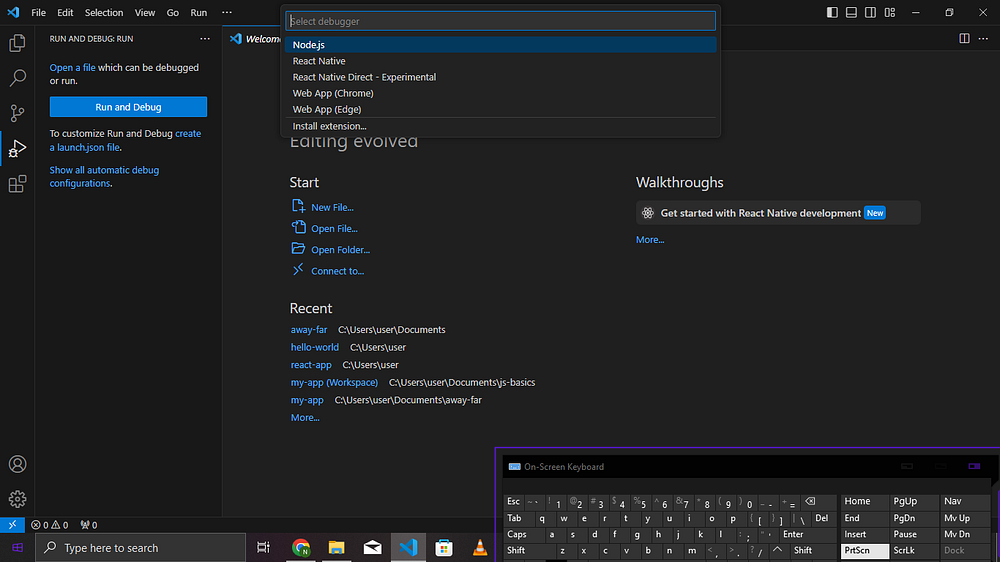
You click on it and then the drop-down list will come up, select the React Native option
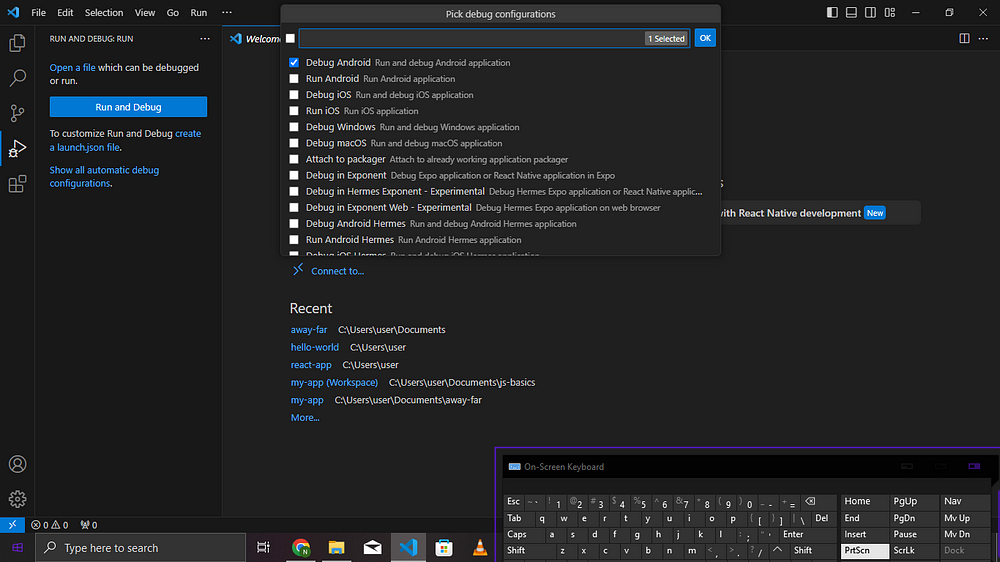
By default, it will be set on Debug Android, for broader understanding, let’s change it to Attach to Packager and press OK which create the launch.json file”
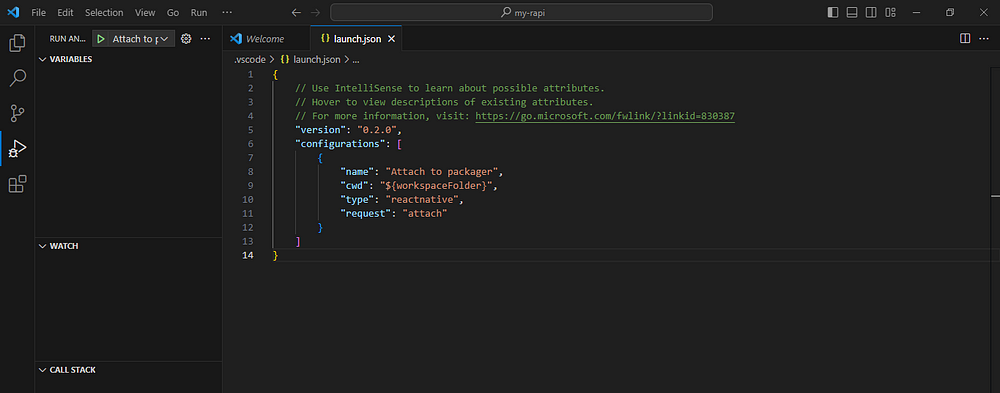
In the image above, you can see we have a single configuration called Attach to Packager. If you don’t Attach to Packager showing, you can go the run menu and select Add configuration. Within the configuration tag, you search for reactnative and this brings us various configurations or debugging react native apps. Let’s select a second configuration like Debug Android.
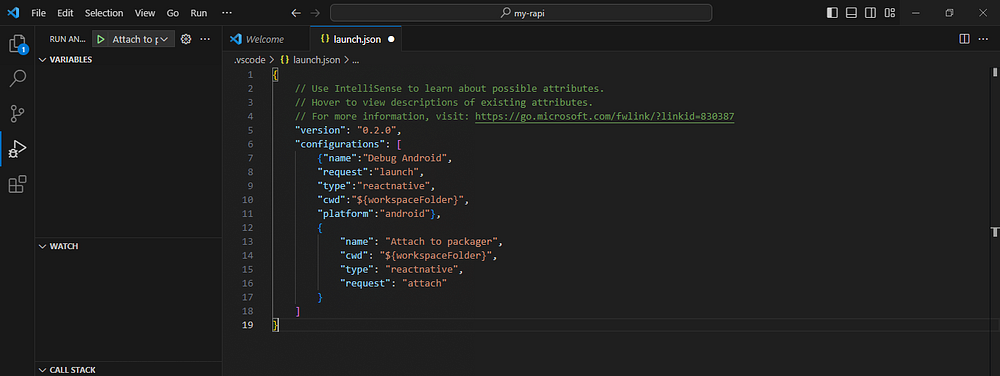
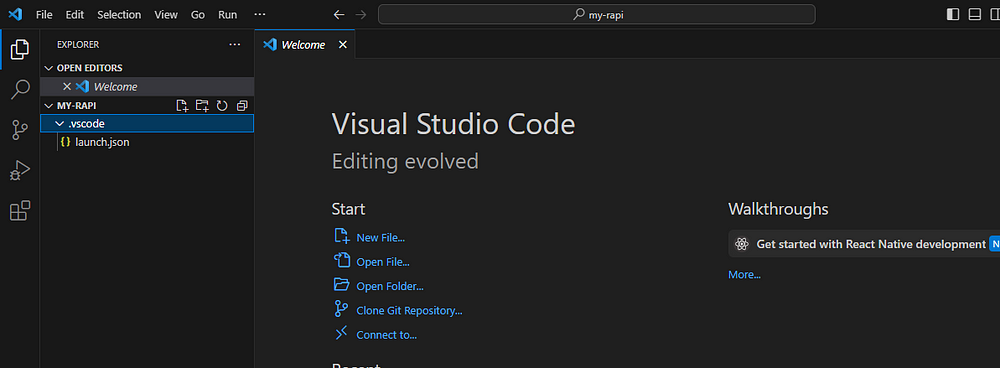
Now save all the changes. You can now close the file and in case you are curious this file is located inside the .vs code folder
Now let us go to App.js and declare a variable for example let x = 1; , and insert a breakpoint on that line, start our app in debug, and execute it line by line. Now go to the Debug panel, in the dropdown list, select Attach to Packager, and click on the play button.
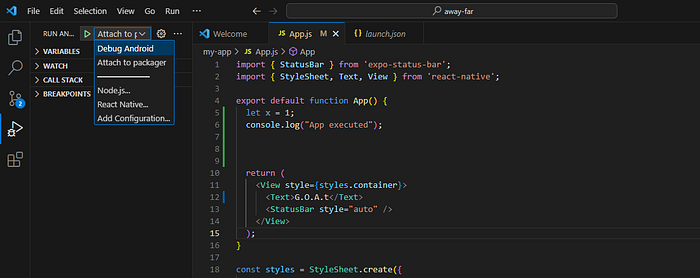
In this example, our debugger started and immediately stopped. To see why this happened, we go to the View menu and click Debug Console, and it says we cannot attach to Packager, are we sure it’s running in port 8081. By default, VS code tries to run on the port 8081.
When we open our virtual device using the command option, we will see Open debugger which will open a page in Chrome that will show us the port we should run(Local host) . Our Job is to change the port from 8081 to the port our localhost is running on
To do that, we go to VS code then we go to File menu, then Preferences, then click settings. Under the User tab, we search for react-native. packager.port. It will bring out the port 8081 which is the default port. Change it to the port your local host is running on and then close the Chrome page and then go to the debug panel, run it again and you will see your debug and see you have established a connection.
Then go to your device or virtual device, press the command to bring out the options, and click Reload App it will now be successful.
Consider this part 1 of debugging in VS code. In the next article, we will run through the conclusion and see how you can also debug with Chrome
Thank you for Reading